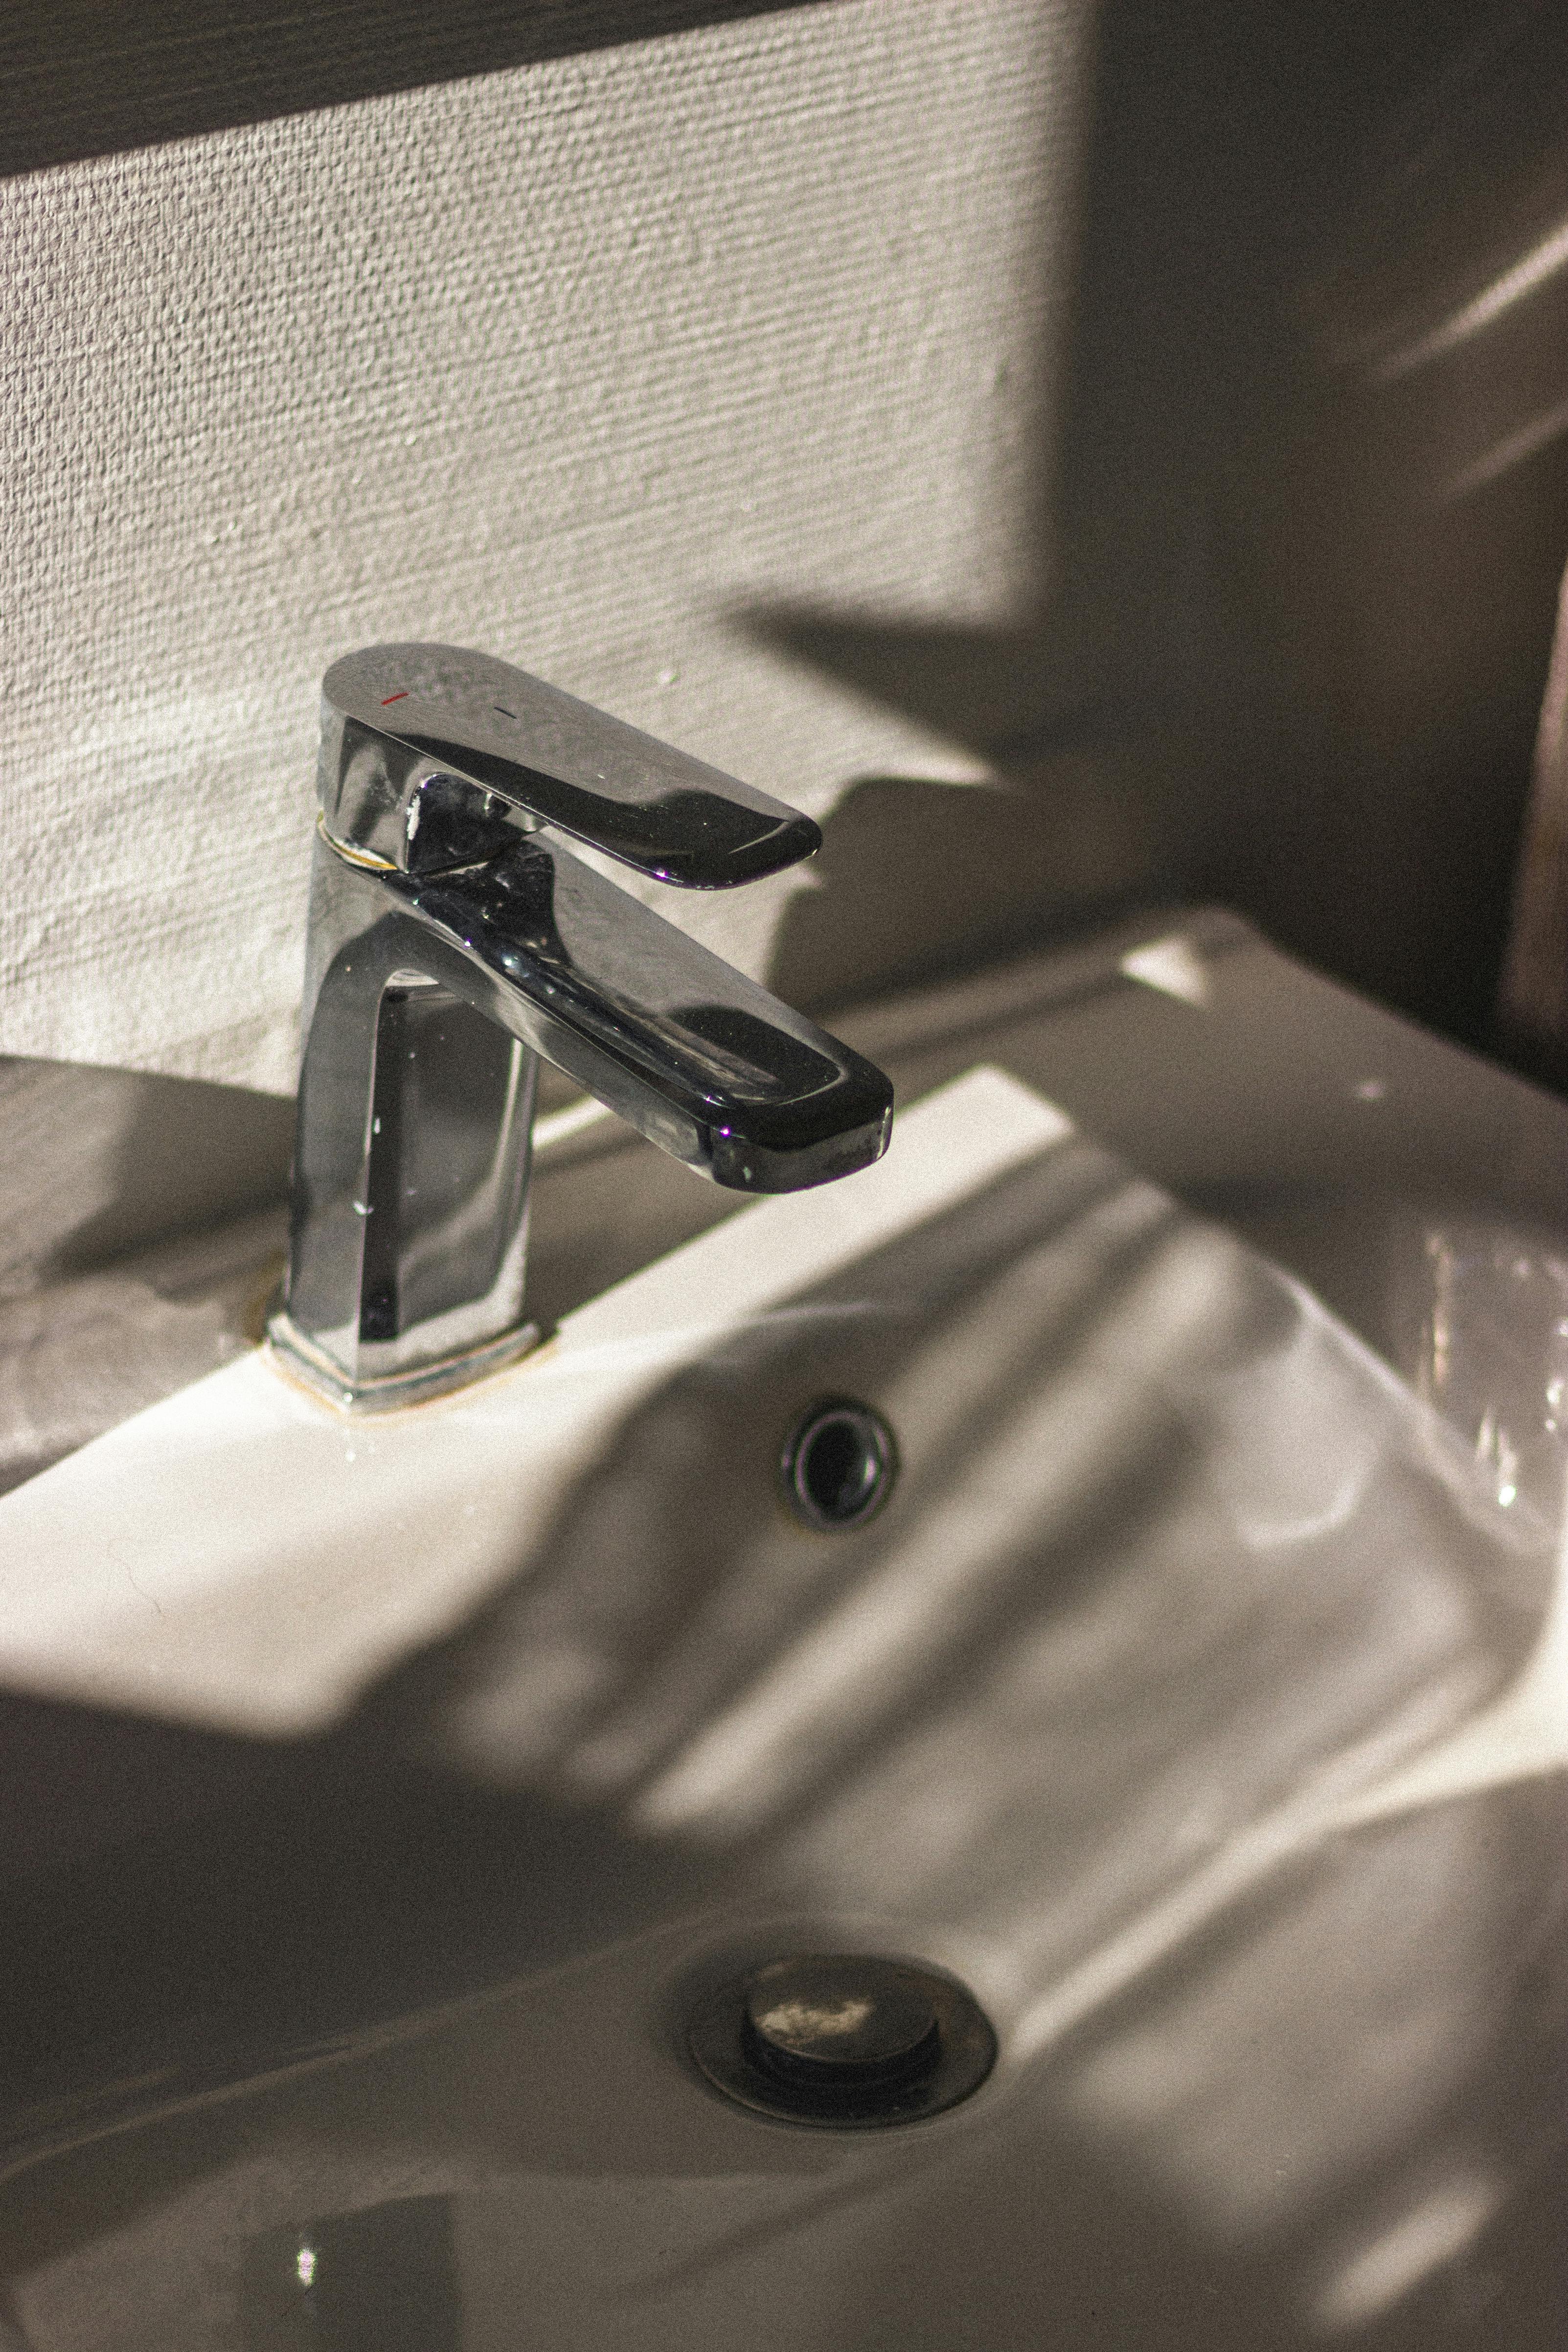
Introduction - Revamp Your Home with an Inline Water Filter
Home renovations are not just about breathtaking stylish transformations; they also entail a focus on improving your living standards. And important as paint colours, interior designs, and room refurnishings are, antique pipes and inefficient filtration systems should not be ignored. Rather than risking your health with potential water contaminants, why not consider installing an inline water filter? Say hello to cleaner, better-tasting water with every glass you fill. In this comprehensive guide, we share step-by-step instructions on how to successfully install an inline water filter for a healthier home reinvention.
Inline Water Filter: What You Need to Know
Committed to fostering healthier and tastier hydration experiences, inline water filters aim to improve the water quality in your home. Dispelling threats like chlorine, sediment, and other possible contaminants, they ensure your water is free of harmful impurities. Inline water filters function by connecting directly to your water line, thus filtering every drop of water that runs from your tap.
An inline water filter is a sound investment for your house renovation. Primarily, they contribute to better health by ensuring safe drinking water. Additionally, they also enhance the overall taste and odour of your water while ensuring your pipes' longevity by decreasing the chances of corrosion and rust caused by impurities.
What You Need for the Installation Procedure
Before you dive right into the installation process, make sure you have all the necessary tools and materials: an adjustable wrench, a standard screwdriver, a driller (optional), two pipe wrenches, a tubing cutter (if required), some Teflon tape, and of course, your new inline water filter. Remember to shut off the main water supply to your kitchen before starting with the installation.
Step-By-Step Guide on Installing Inline Water Filter
Now, onto the main topic - the step-by-step installation of your inline water filter. Knowing how to do this yourself introduces you to a world of self-dependency and savings on service costs.
Step 1 - Identify Your Filter's Position
Firstly, decide where you wish to position your filter. It should ideally be installed on the cold-water line under your sink. The closer to your tap, the better, as this will ensure maximum efficiency.
Step Two - Prepare for the Installation
After determining a position, shut off the water supply and release the pressure in the tubing by opening the tap. Then, using your tubing cutter, cut the cold-water line to fit the filter.
Step Three - Connect the Water Filter
Once the tubing is in the proper size, connect your inline water filter using the hardware provided.
Step Four - Apply Teflon Tape
Next, apply Teflon tape on the filter's input and output threads. This prevents leakage and ensures a secure and tight connection.
Step Five - Connect the Water Lines
Now, connect the water lines. Make sure the water flow matches the direction indicated on your filter.
Step Six - Secure Connections and Test
Lastly, tighten all the connections with your wrench and turn on the water supply. Check for potential leaks. If there are no issues, then congratulations! You've successfully installed your inline water filter.
Conclusion: Embrace the Benefits of Your New Inline Water Filter
Following these steps will lead to your successful installation of an inline water filter, aligning with your home improvement goals. With this valuable addition to your home, be ready to experience healthier and tastier hydration, coupled with an improved lifespan for your water appliances. Remember, home renovation isn't complete without improvements in quality living. So, go ahead and make that upgrade with the inline water filter and elevate your home experience. With this major step, your journey towards a fresh home reinvention is off to a strong start.