Introduction to Coving Painting
Coving painting, a quintessential part of interior decorating, is increasingly becoming popular in modern homes. It adds an interesting architectural feature to any room, creating a smooth, seamless transition from wall to ceiling. Furthermore, it brings a touch of elegance and sophistication, making a room look more aesthetically pleasing. However, painting coving can be quite a challenging task, especially for beginners. This ultimate guide aims to unravel the ins and outs of coving painting, imparting essential tips and techniques to effortlessly spruce up your living spaces.
What is Coving?
Before delving into painting techniques, it's important to understand what coving is. Coving refers to a moulding that gracefully bridges the gap between walls and ceilings, effectively hiding the corner. Traditionally, it boasts a concave design, but contemporary styles vary widely, from simple curved designs to more intricate and ornate styles. Coving not only serves an aesthetical purpose but also adds value to your property, making it worth your time and investment.
Preparing for Coving Painting
A successful coving painting project leans heavily on good preparation. Failing to apprehend certain steps might result in a disappointing finish. So let's look at what's needed:
1. Choosing the Paint: It's important to choose the right kind of paint for your coving. Emulsion paint is generally a safe bet. However, if your coving has elaborate details or if it's made from a material other than plaster, oil-based or gloss paints might be the best choice.
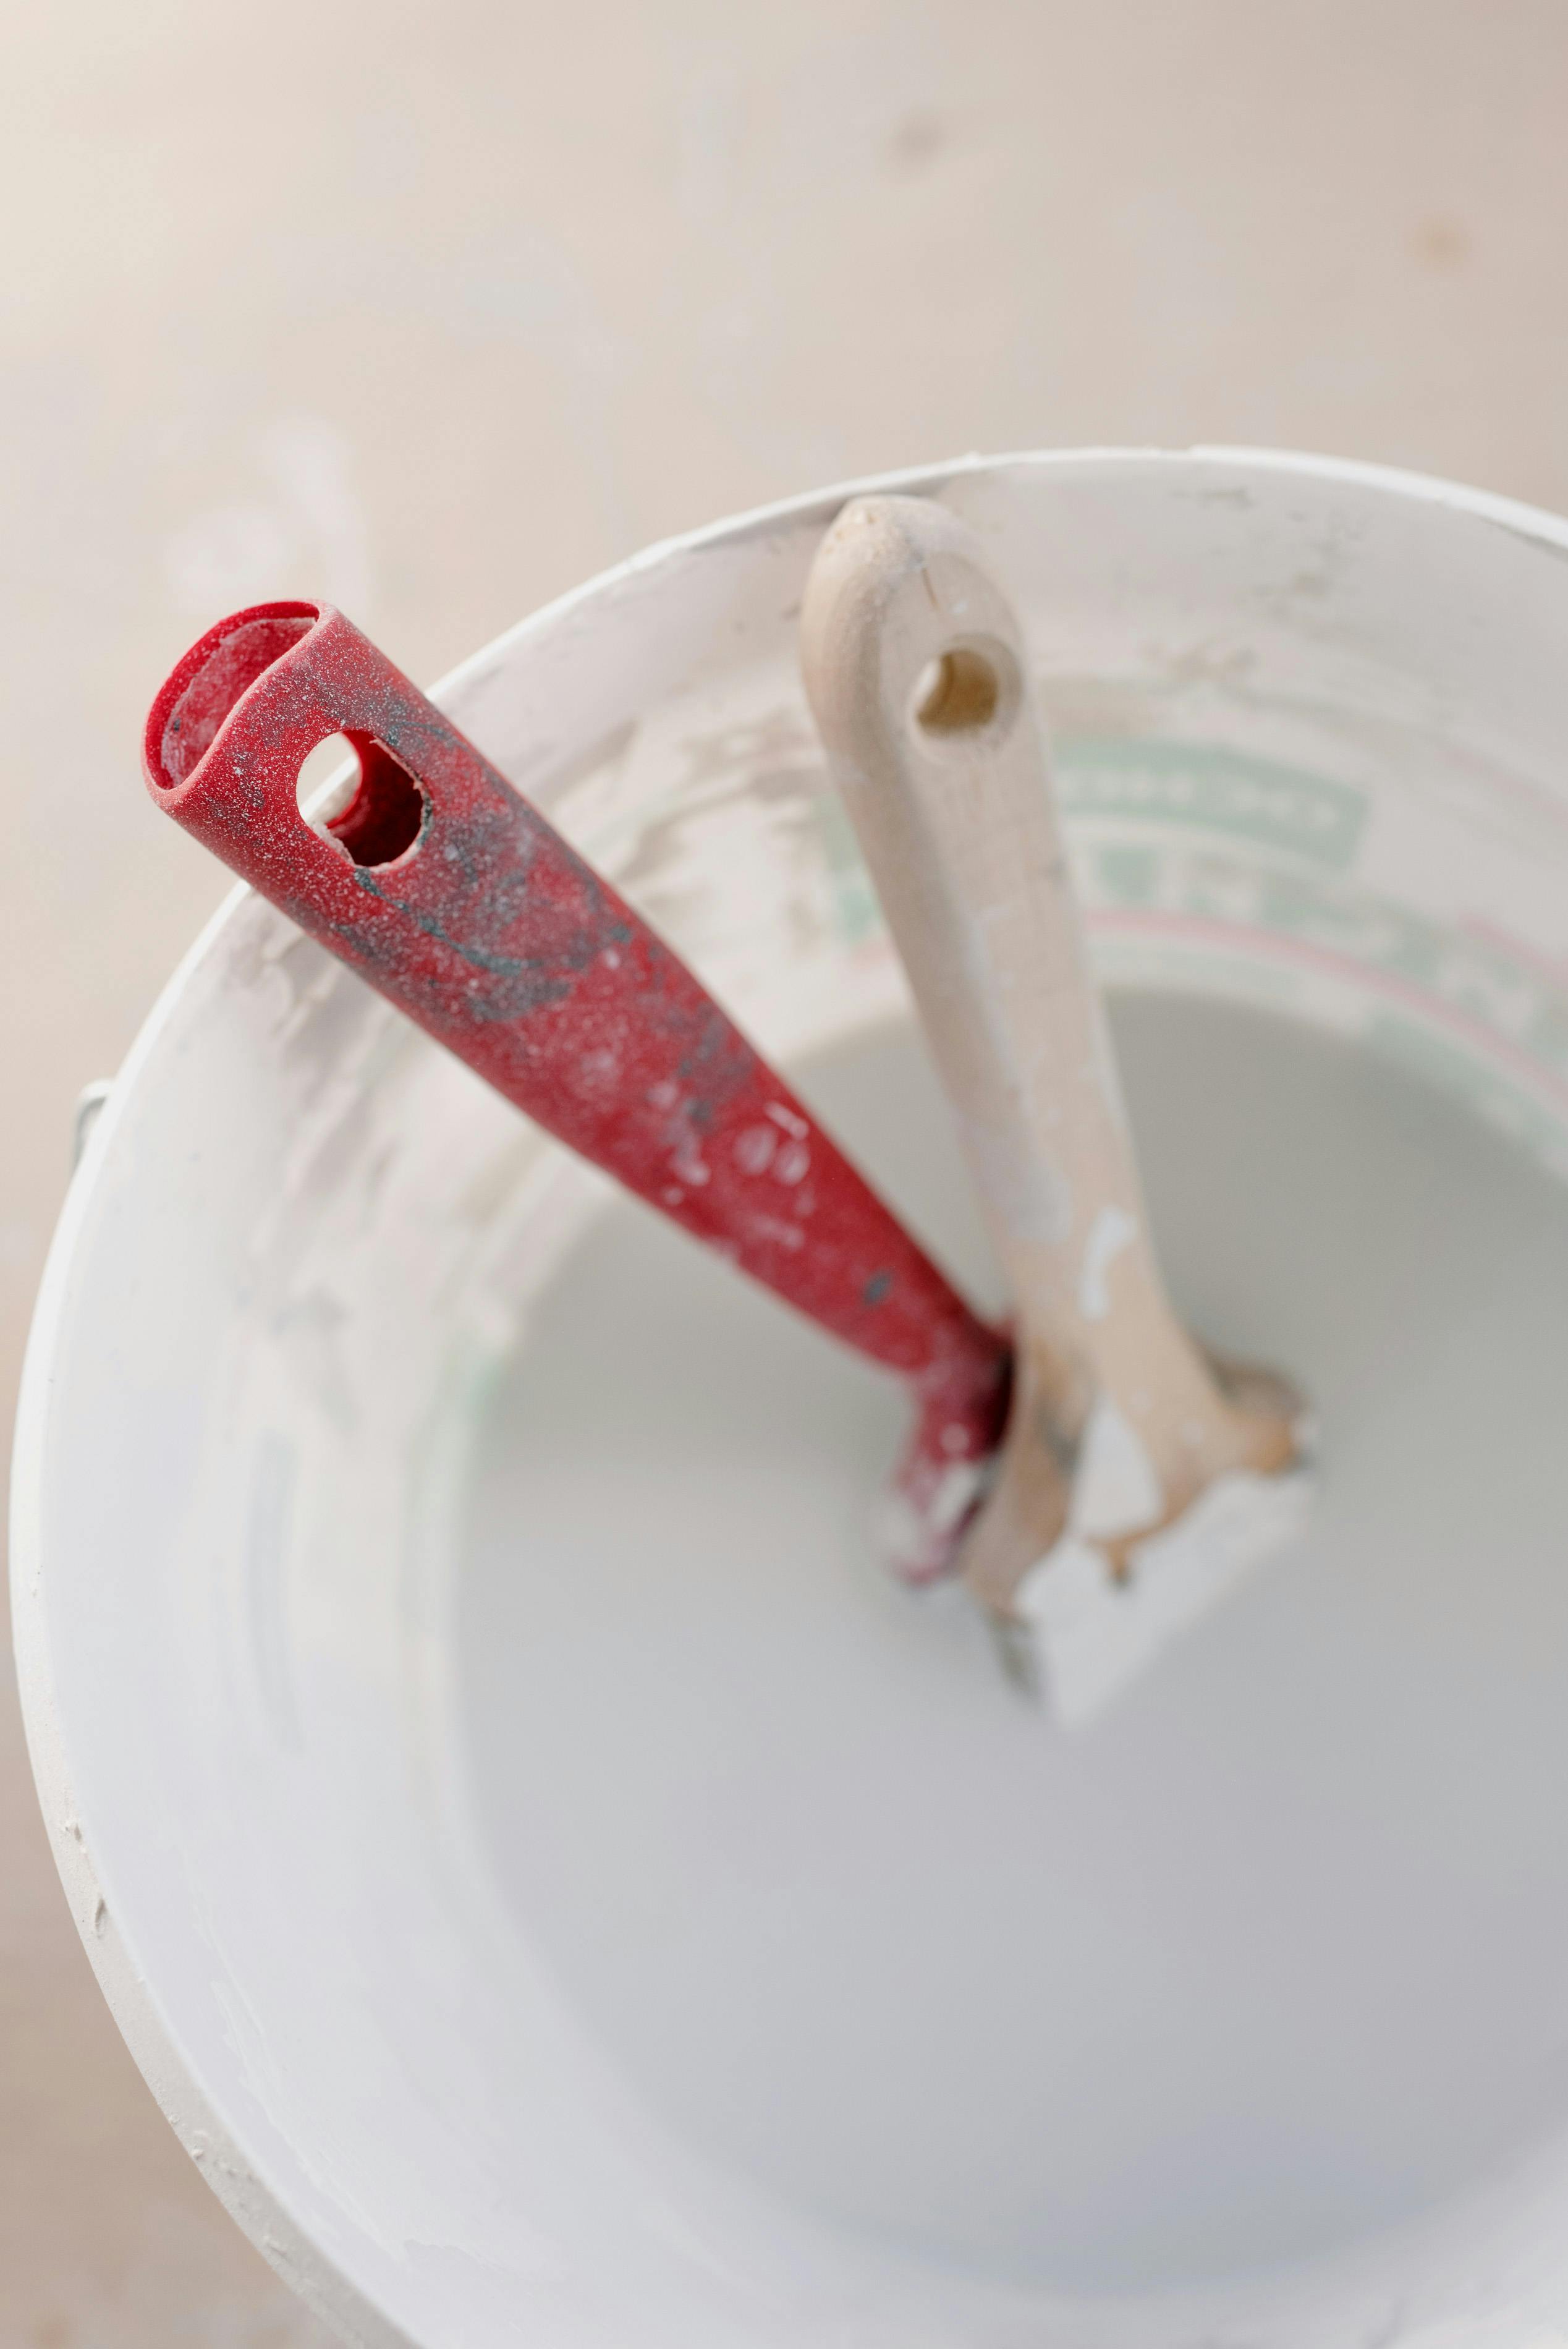
2. Gathering the Tools: Ensure you have a ladder, paintbrushes (preferably 2-inch), a smaller detail paintbrush, paint, and a couple of dust sheets to cover the floor and furniture.
3. Cleaning: Coving tends to collect dust and cobwebs over time. A quick and thorough cleaning using a duster or a vacuum cleaner is essential before you start painting.
Coving Painting Techniques
Now, let's dive into the main event: the painting. Here are some step-by-step techniques to follow.
1. Careful Strokes: Painting coving requires a steady hand and careful strokes. Always paint in one direction to avoid patchy results. Start painting from one corner of the room and work your way around.
2. Thinning the Paint: If your paint is too thick, it may not provide the smooth finish you're after. It’s recommended to thin down your paint with water. A 10 percent dilution is usually a good starting point.
3. Detail Painting: If your coving has intricate details, use a smaller brush to ensure all areas are evenly covered. Remember, painting coving is not a rushed process – patience pays off!
Tips for Painting Coving
Last but not least, here are some essential tips to help you achieve professional-level results in your coving painting project.
1. Masking Tape: To prevent paint from reaching areas it shouldn't, use masking tape along the edges of the wall and coving. This also helps to maintain a clean edge and heightens precision.
2. Multiple Coats: A single coat of paint often looks patchy and uneven. Applying two or more coats ensures a more vibrant, uniform color. In between coats, allow the paint to dry thoroughly.
3. Lighting: Good lighting is essential for painting coving as it helps you spot any missed patches or areas that need touch-ups.
Conclusion
Coving painting is not a task that should be dreaded, but one that adds character and elegance to any room. With this comprehensive guide, we trust you’ll be able to approach your next coving painting project with confidence and ease. Remember, preparation is key, have patience, and take your time – your stunning, newly-painted coving is worth the effort!