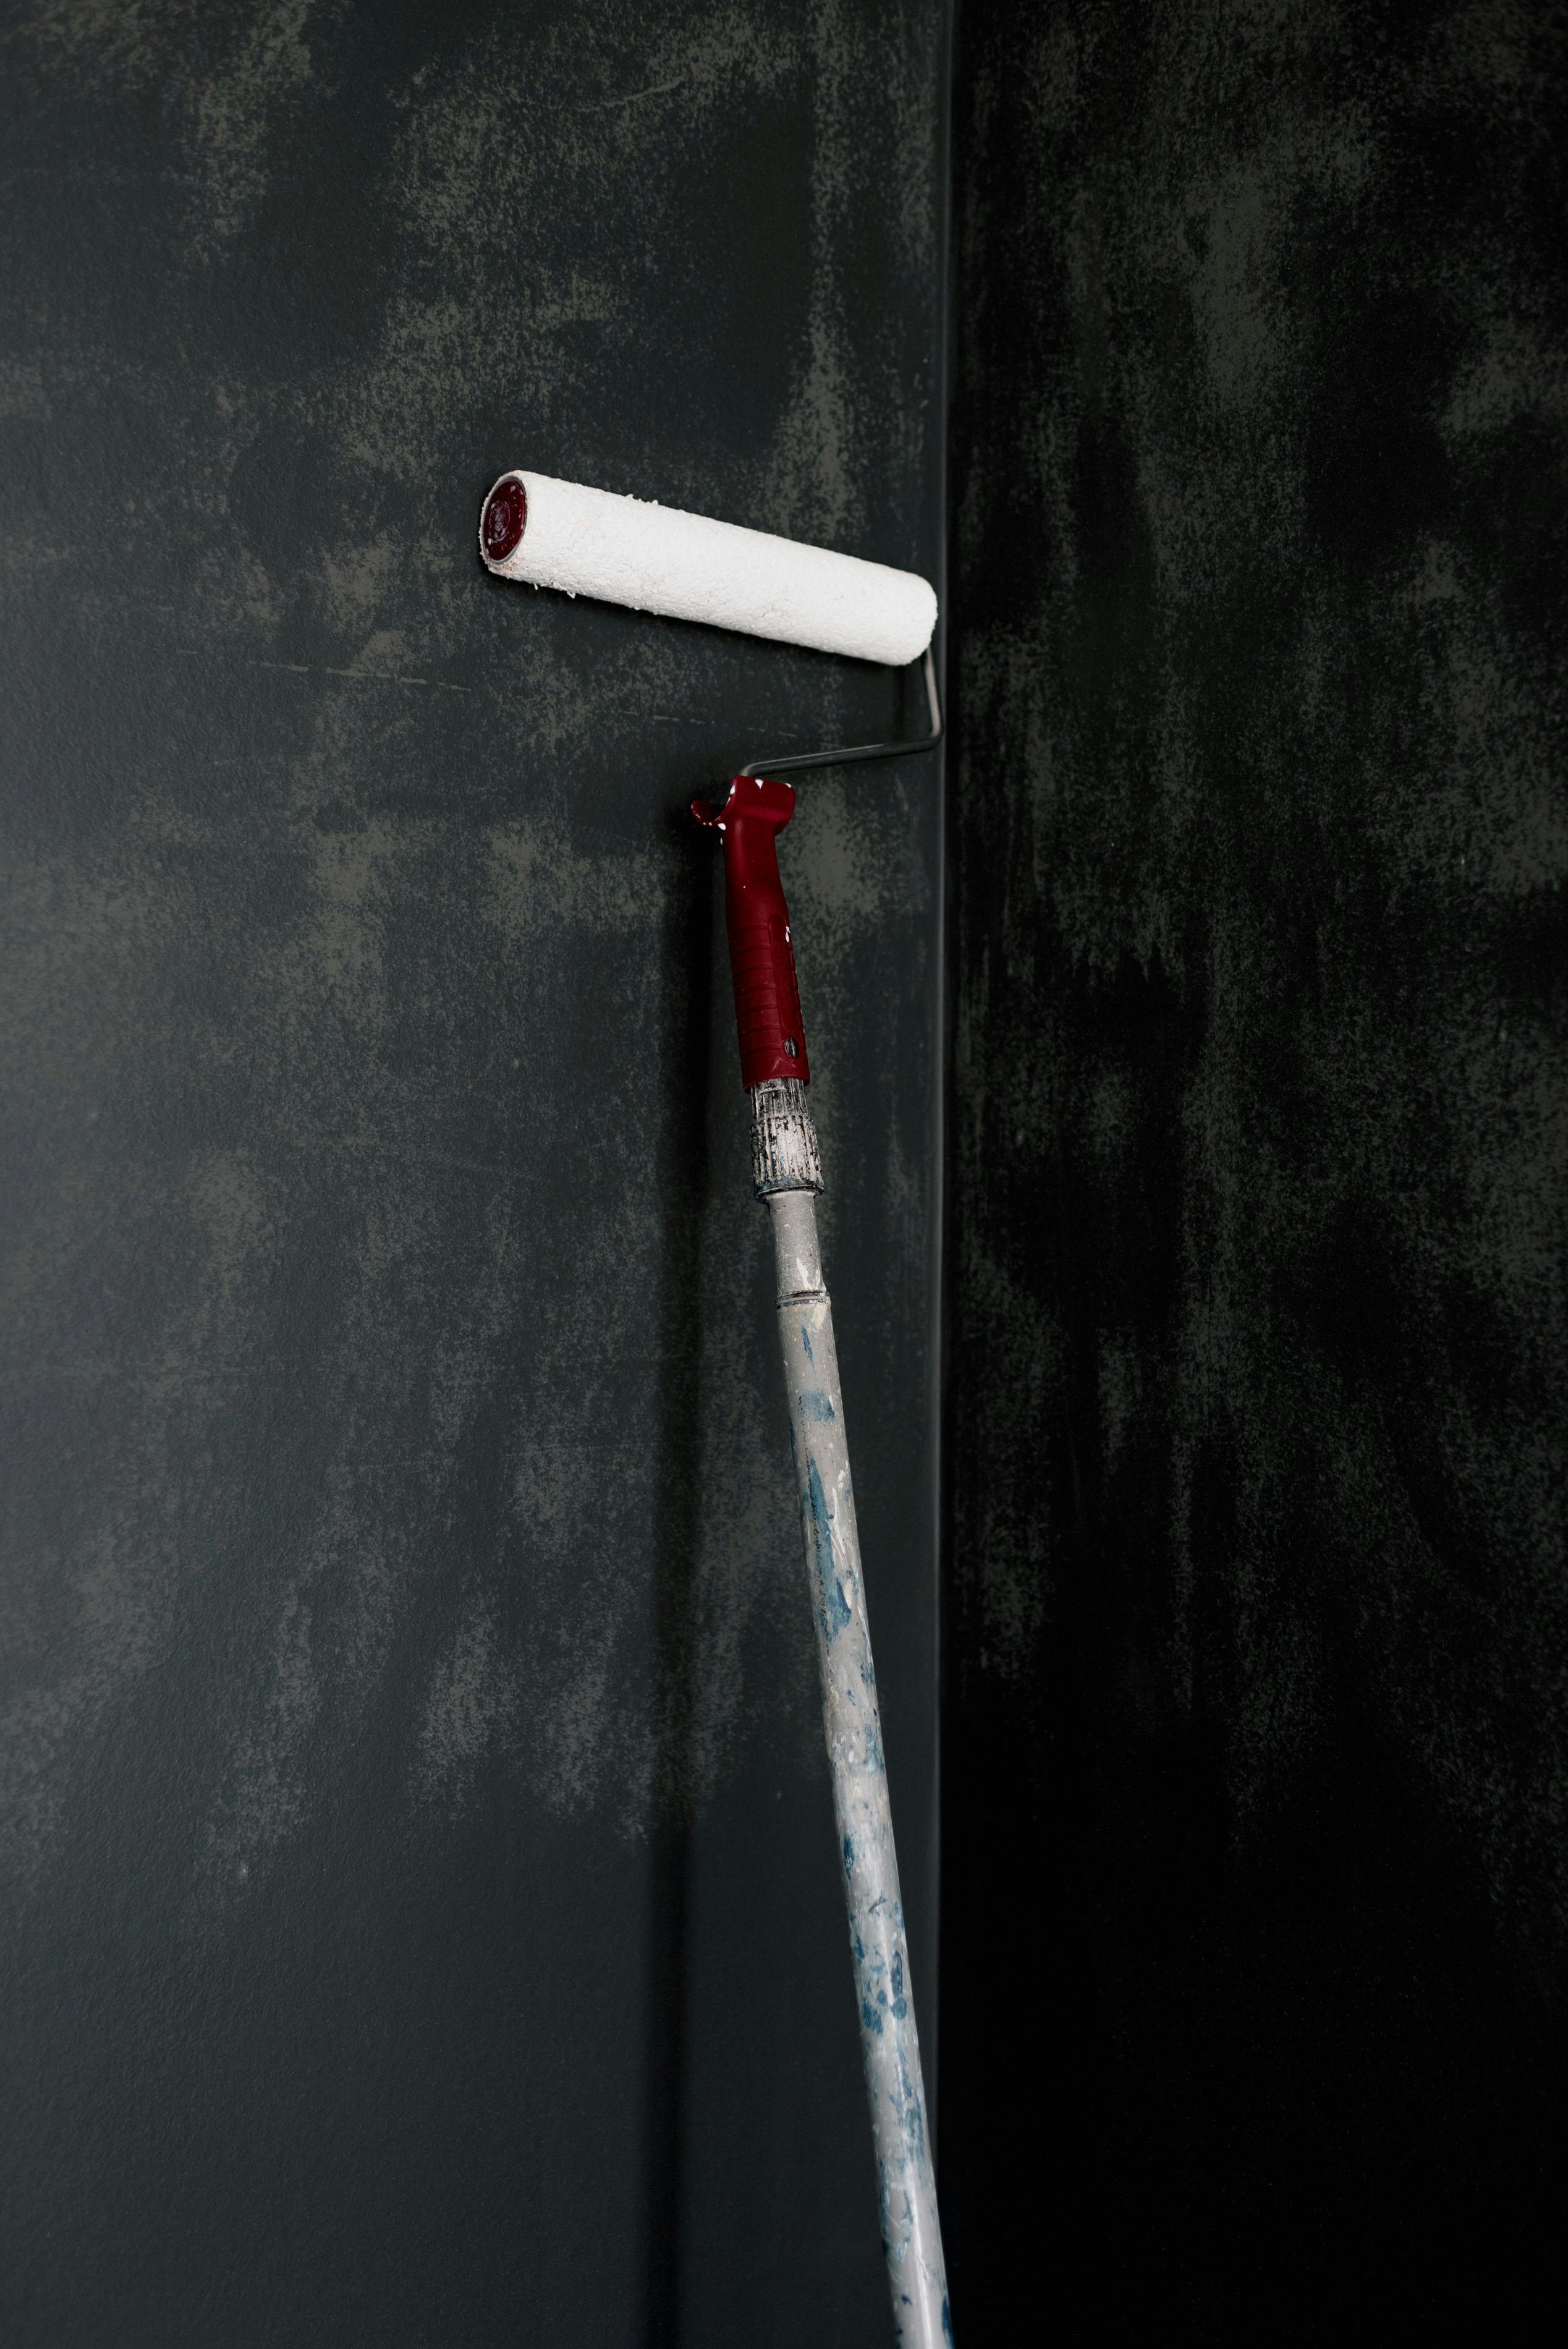
Introduction: The Art of Painting Behind a Radiator
Painting your home's interior can be a rewarding project, but it requires careful attention to detail. One area that often creates a challenge is the space behind the radiator. This often overlooked spot can harbor dirt, dust, and old, chipped paint, spoiling the overall aesthetic of your newly painted room. However, with the right tools and techniques, you can effortlessly paint behind a radiator, giving your room a fresh, polished look. This article provides a comprehensive guide on how to paint behind a radiator, one of the important interior decorating tips you should master.
Understanding the Importance of Painting Behind a Radiator
It might be tempting to bypass the tricky steps involved in painting behind a radiator. However, leaving this area untreated can compromise the complete look of your room and even undermine the value of the professional paint job. By learning how to paint behind a radiator, you enhance your home’s aesthetics. Moreover, a fresh coat of paint also safeguards the wall space behind the radiator, preventing potential damage from dampness and heat.
Preparation: A Key Step in Painting behind a Radiator
Preparation is the golden rule in any DIY home improvements particularly when it pertains to painting. In order to successfully paint behind a radiator, you'll need high-quality paint, a radiator roller and tray, a long-handled painting brush, masking tape, and dust sheets.
Before starting, ensure you clean the wall behind the radiator thoroughly to remove any dust accumulation. Protecting your floors and the radiator itself from unwanted paint splashes using masking tape and dust sheets is also every bit important. In addition, a radiator brush or radiator roller can allow you to access the confined spaces behind the radiator, making your painting job far easier and more efficient.
Painting Process: Mastering the Technique
Once prepped, start the painting process. Using the long-handled brush or radiator roller, evenly apply the paint behind the radiator. Begin from the top and work your way downwards to minimize visible drips. If the space behind the radiator is too narrow, consider alternatives like heat-resistant radiator paint applied with a flat-headed screwdriver to reach confined spots.
Remember to apply several thin layers of paint, allowing each one to dry completely before applying the next. This step-by-step method prevents possible imprints or smears in the dried paint and ensures a smooth, professional finish.
Moving the Radiator: A Last Resort
In more challenging cases where the radiator is too close to the wall, moving the radiator temporarily might be necessary. Ensure to follow proper procedure when doing this to prevent any damages or accidents. This includes draining the radiator system and having essential tools at hand such as a radiator key, adjustable wrench, and towels.
Moreover, if you decide to remove the radiator, it provides an opportunity to clean it and check for any necessary repairs. Yet, as this a significantly challenging task, seek professional help if you lack experience in this area.
Conclusion: Achieving a Comprehensive Interior Makeover
Painting behind a radiator may seem daunting, but with the right tools and strategies discussed herein, you can achieve a flawless finish that significantly enhances your room's interior. From proper preparation to correct layering techniques - each step ensures a tidy, professional look, making each quirk and challenge in interior decorating a mastered skill.
Remember, if you must move the radiator, consider employing a professional to avoid mishaps. Every detail matters when it comes to home aesthetics and actualizing the worth of your property. These interior decorating tips not only equip you with requisite knowledge but also imbue confidence, facilitating you to undertake and excel in your home improvement journey.